Widget Integration Steps
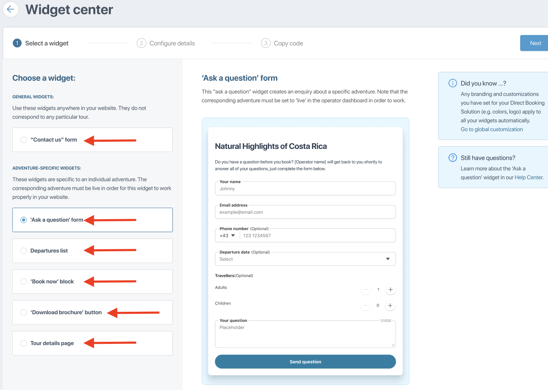
- Log into your Operator Dashboard, click on the 'more' tab, then 'Direct Booking Solution', and select 'Widget Center'.
- Here you can select the widget you want to integrate. After selecting your specific widget, you can find detailed steps for each widget in the linked articles at the bottom of this page here.
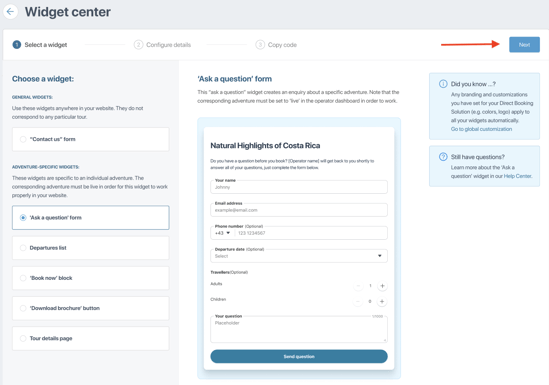
- Once clicked, you will see a preview of the widget and how it will appear on your website, select 'Next' to proceed to the customization of your widget.
- Customize the widget to fit your preferences. There are unique customization options for both general widgets and adventure-specific widgets.
-
You can click the 'Preview widget' button, to see if you are satisfied with the widget.
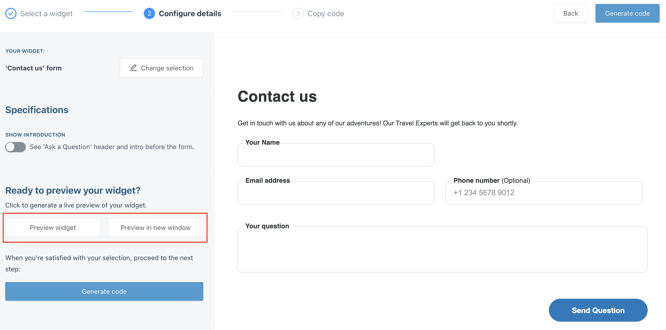
6. After you have finished customizing your widget, you will need to select 'Generate code' to get the code to integrate your widget. Clicking 'Generate code' will automatically take you to the next step of the integration process.
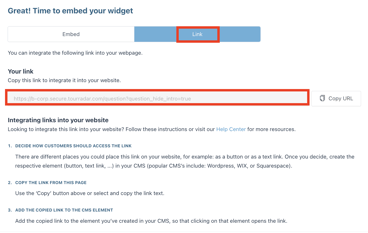
7. Integrate your widget using the steps below for the link option.
How to Integrate a Widget Using the Link Option in WordPress
Please be aware that the link option is specifically designed for the Contact Us, Ask a Question and Book Now Block. If you wish to utilize the other available TourRadar Widgets, you can opt for the embedding option instead. Further details on this option can be found here.
For more information regarding WordPress, see their website here.
- Create the widget using the Link option. You will need to open your WordPress page in a different tab.
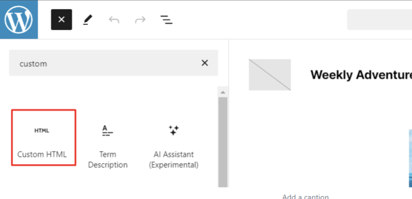
- Go to WordPress and edit the website page where you want the widget to appear, then click on the “+” sign.

-
Click on Custom HTML.
- If you want the widget to be opened on the same page, paste the following HTML code by replacing YourLink with the link you received when you created the widget in your Operator Dashboard:
<a href="YourLink" onclick="window.open(this.href, '_self'); return false;">Ask a question</a>
------------------------------------------------------------------------------------------------
- Make sure you also change the anchor text in the HTML code to match the widget you are linking:
>Ask a question</a>
>Contact Us</a>
>Book Now</a>
5. If you want the widget to be opened in a new tab paste the following HTML code by replacing YourLink with the link you received when you created the widget in your Operator Dashboard:
<a href="YourLink" onclick="window.open(this.href, '_blank'); return false;">Ask a question</a>
------------------------------------------------------------------------------------------------
- Make sure you also change the anchor text in the HTML code to match the widget you are linking:
>Ask a question</a>
>Contact Us</a>
>Book Now</a>
<a href="YourLink" onclick="window.open(this.href,'popup','width=600,height=600'); return false;">Ask a question</a>
------------------------------------------------------------------------------------------------
- Make sure you also change the anchor text in the HTML code to match the widget you are linking:
>Ask a question</a>
>Contact Us</a>
>Book Now</a>
7. Save the changes, refresh the website and the widget should appear.
If you are having problems integrating your TourRadar Widget(s), please email us at partner-solutions@tourradar.com with more information about the situation.